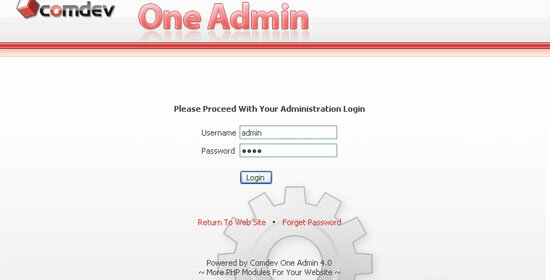
To proceed with your 'Administration Login', browse for the path to your 'Oneadmin' folder, for example 'http://your_domain_name.com/oneadmin/'.
Enter your username and password, and Click 'Login'. Click 'Return To Web Site' if you wish to return to the main page of your domain or click 'Forget Password' to retrieve your password.
Click Newsletter icon at the modules pane on your left.
Next, click Manage Group at the navigation bar to add a newsletter group. Enter a group name for example general. This is to allows you organizing your newsletter according to the groups in future.
Check off the option if you wish to show group you created for public subscribers to view.
Click Add subsequently your newly created group will display in the list below.
To sort group in descending or ascending order, just click the arrow beside each column label.
The delete and edit icon are on the spot too where you can have your group deleted from the list or just edit your newsletter group.
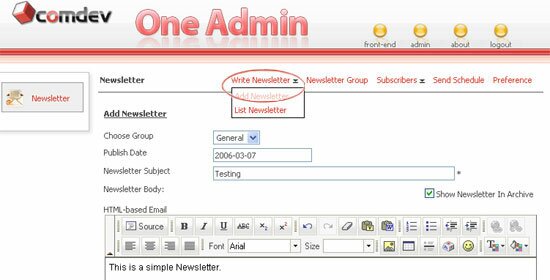
Click Manage Newsletter on top. Then click Add. Choose a group from the pull-down menu you created earlier to accommodate your newsletter. Enter the publish date in YYYY-MM-DD format. By default, it is today's date.
Enter the subject of your newsletter and you can create your newsletter either in html editor or pure text content. If you were to create your newsletter in html editor, you can use tools to personalize your newsletter. Check off the Show Newsletter In Archive if you wish to show to public.
Once done, click Save (Note: Enter sender email address in Delivery Schedule page and we will talk about this page later on)
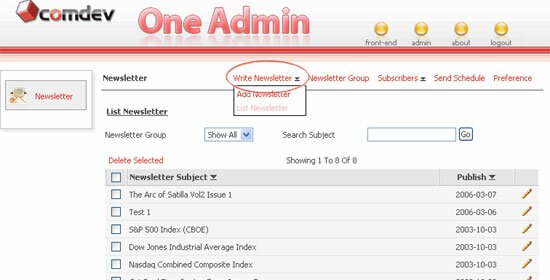
On the same Manage Newsletter page, click List adjacent to Add. Choose the newsletter group from the pull-down menu to view newsletter subjects list or you can enter the subject name to search directly.
Sort out newsletter list in ascending or descending order using the arrow beside each column label.
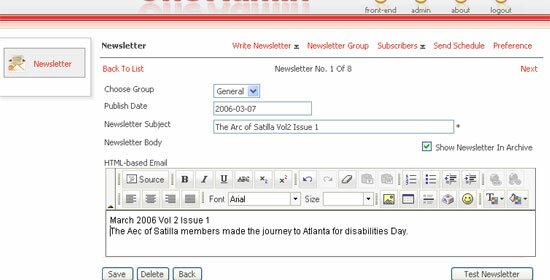
Click the pensel icon on your right to edit newsletter records. To remove a newsletter just click the Delete icon and click Save.
For test sending newsletter, click Test Newsletter to send both HTML and Text newsletter to your email address before performs bulk sending.
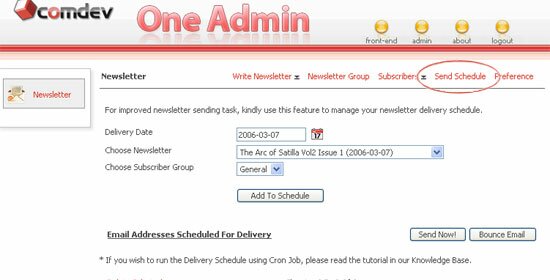
Click Delivery Schedule which located in line with other navigation links. There are two ways of sending newsletter either schedule the deliver date or send it right away.
To put sending on hold, first select a date to deliver your newsletter. Then choose a newsletter you created previously from the pull-down list and choose subscriber group with email addresses. Click Add To Schedule and newsletter will be deliver to the subscriber automatically on the specific date.
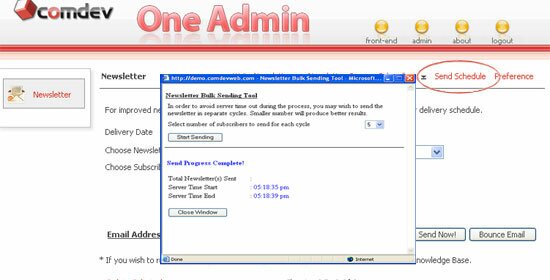
The second method is you just click Send Now for sending newsletter with today's date. A bulk sending window will popup. From the window, choose number of subscribers to send for each sending cycle, then click Start Sending.
The bulk sending tool will show you the sending progress. Upon completion, you will get the report of time start, time end and total subscribers.
Click Close Window to exit. If you want to check the delivery status click Bounce Email to view subscribers email address which had failed to deliver for them.
Click Subscribers on top. Enter a subscriber's email address to search. You can even browse for specific newsletter group to be listed out. Click arrow beside each column label to sort list in ascending or descending order.
Easily navigate to the next list using Next and back using Previous. To edit a subscriber info, click the edit icon on your right. To remove a subscriber from the list, simply click the delete icon.
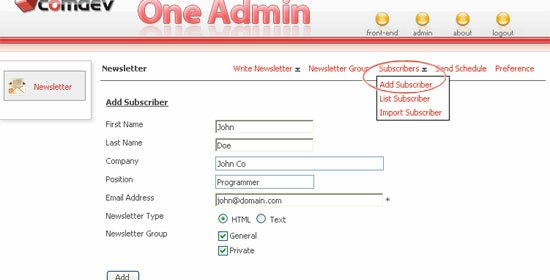
Click Add to add a new subscriber and click Import to transfer existing subscribers to your database. Please refer to next screenshots about Import.
In the Add Subscriber page, fill in the personal details of your subscriber, choose a newsletter type either it is in html or text format. Pick newsletter groups in order to receive newsletters in future.
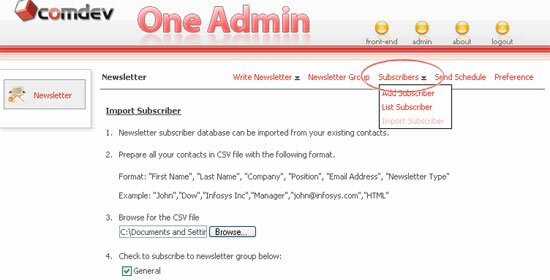
Click Import on the Subscriber page. If you have many subscriber, you may want to import their particulars and store in your database. Click Import and above page will be shown.
Prepare a list by following the format as shown in the instruction using MS Excel. Next, browse the CSV file and select newsletter groups for those subscribers.
Tick the check box list for subscribing to newsletter group below. Lastly, click Import.